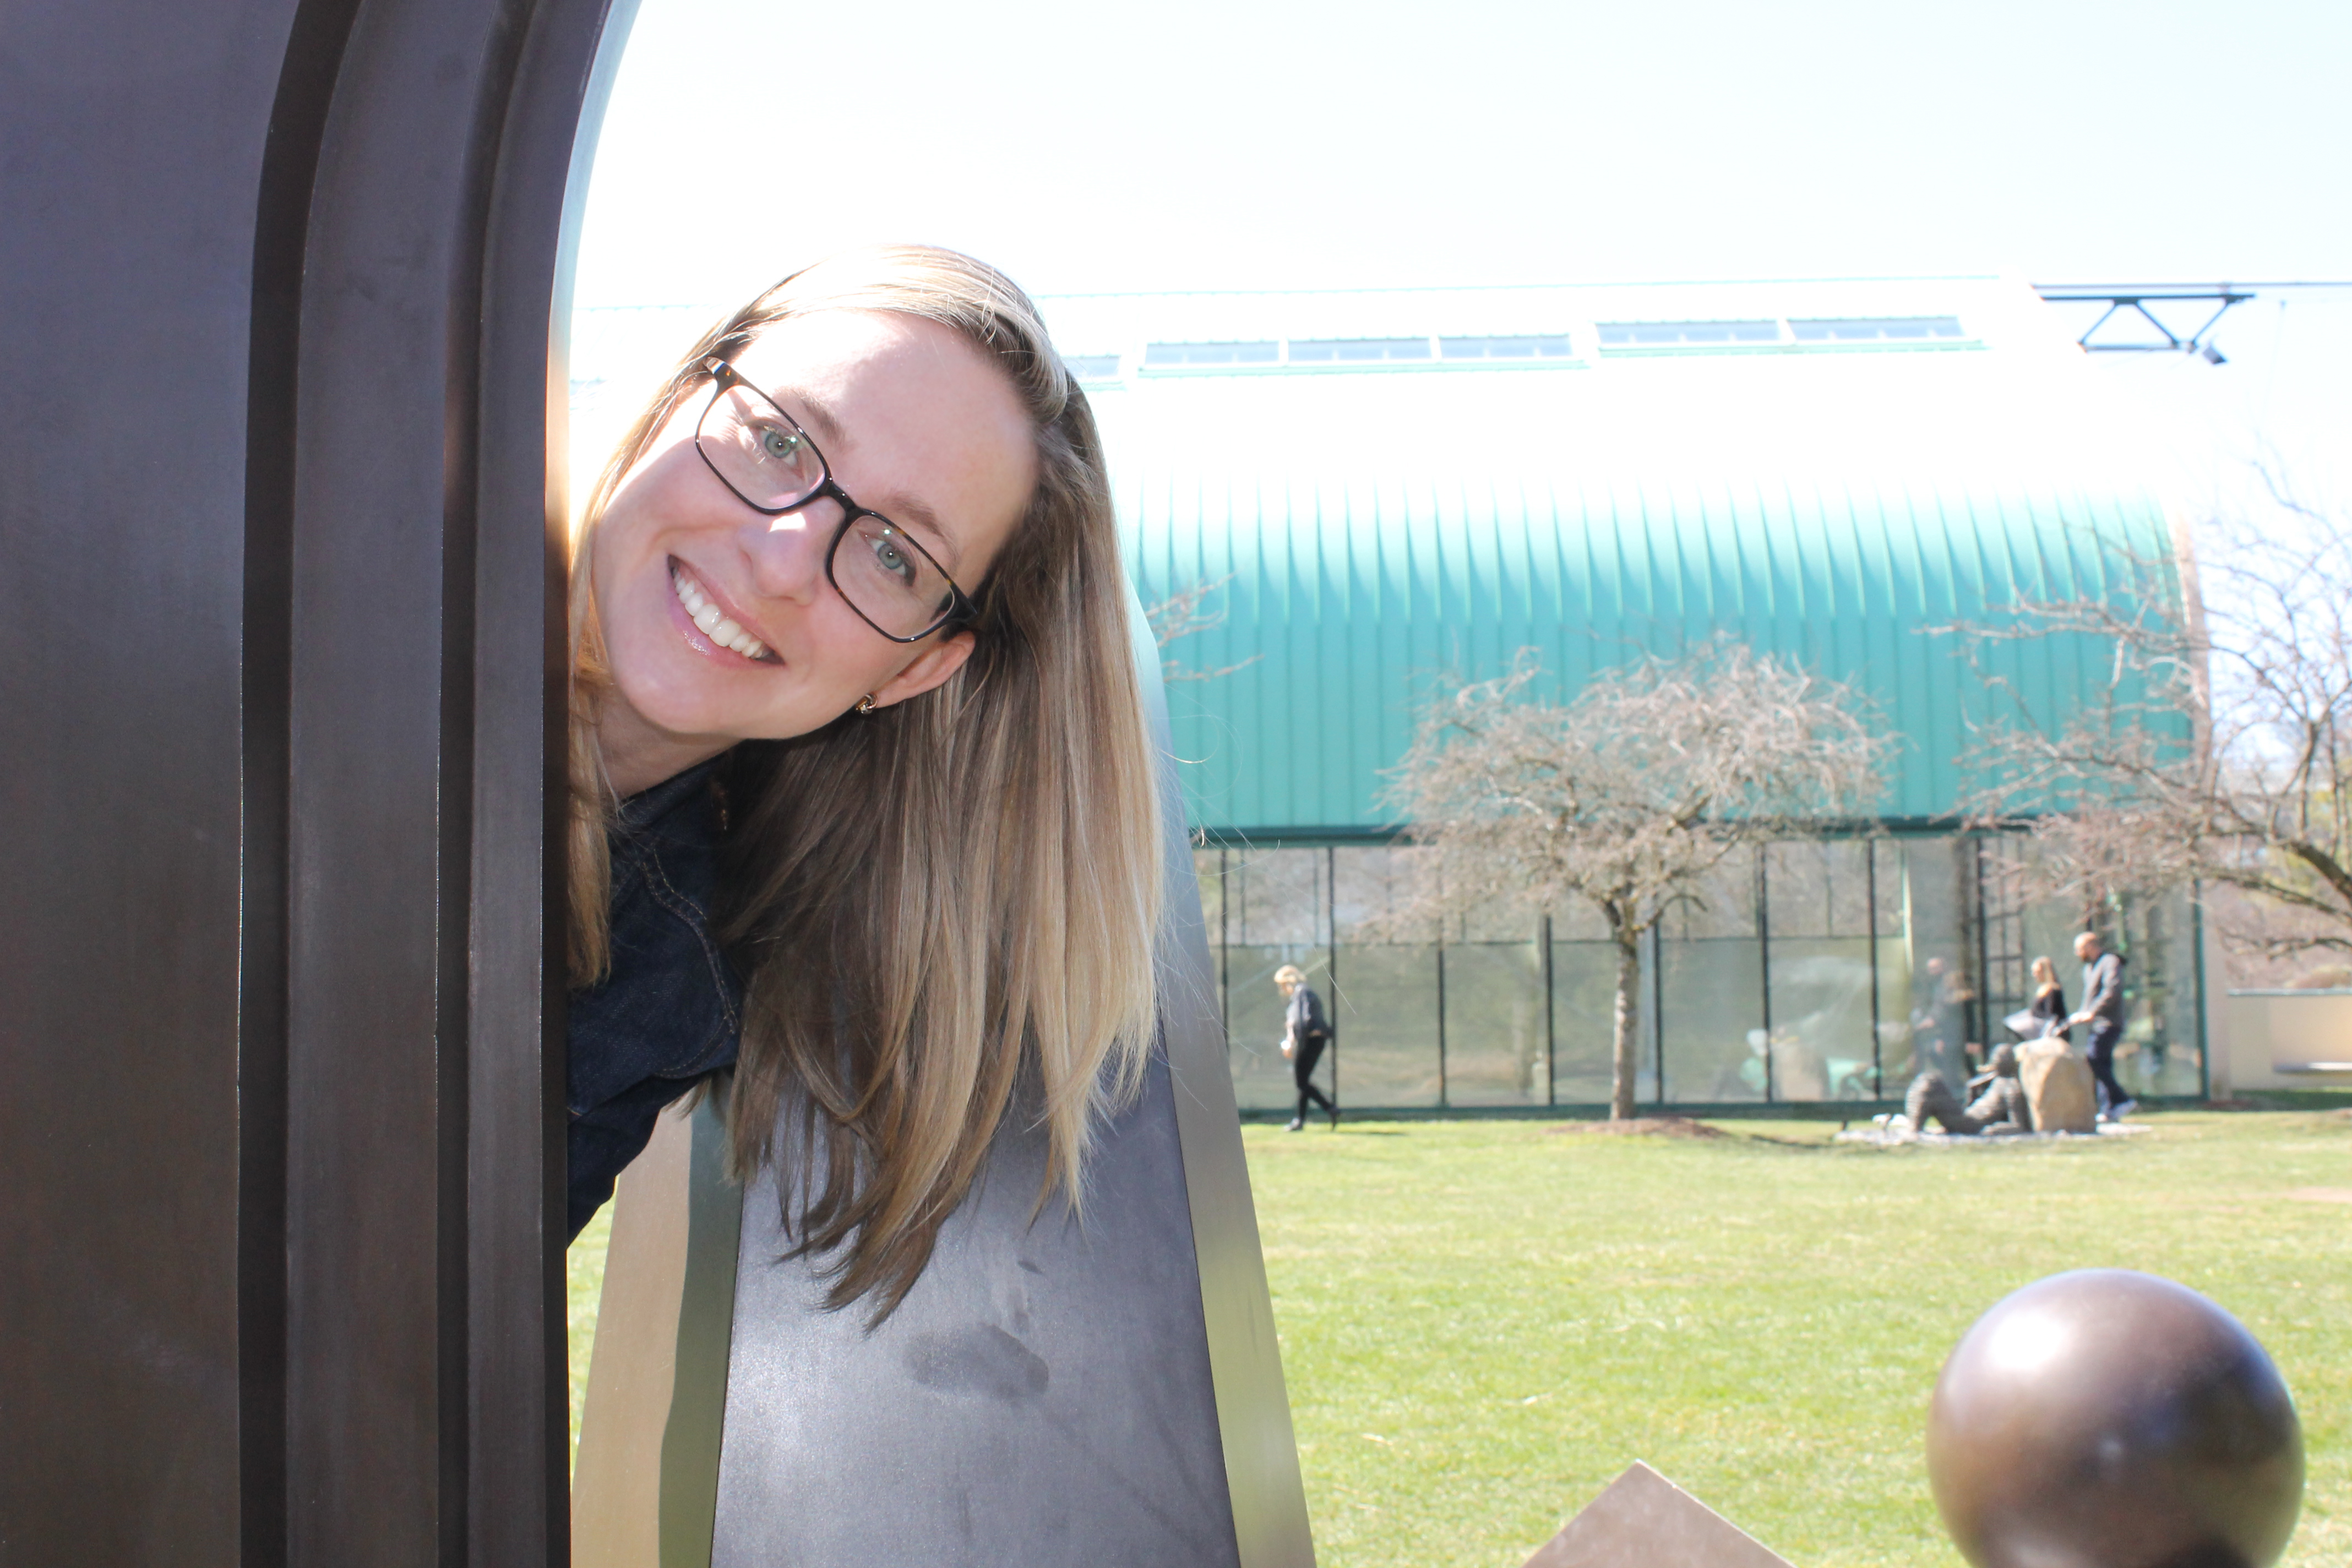
JACQUELINE CASSIDY
Creative, educator, design thinker, museum goer, connector
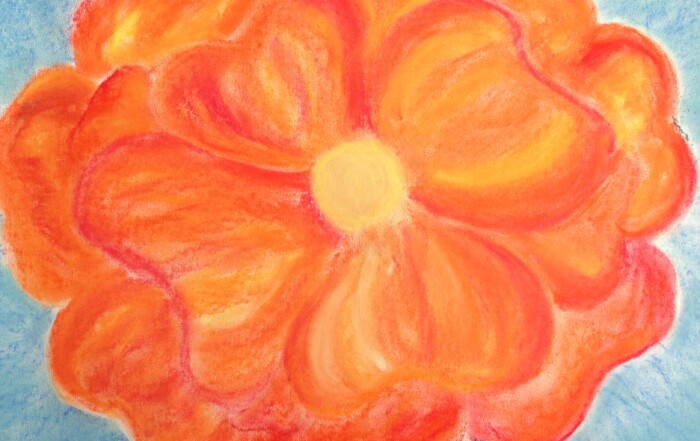
Pastel Flower
Inspired by the upcoming warm up I created a Georgia O'Keeffe flower with chalk pastels. It's always nice to spend time making art!
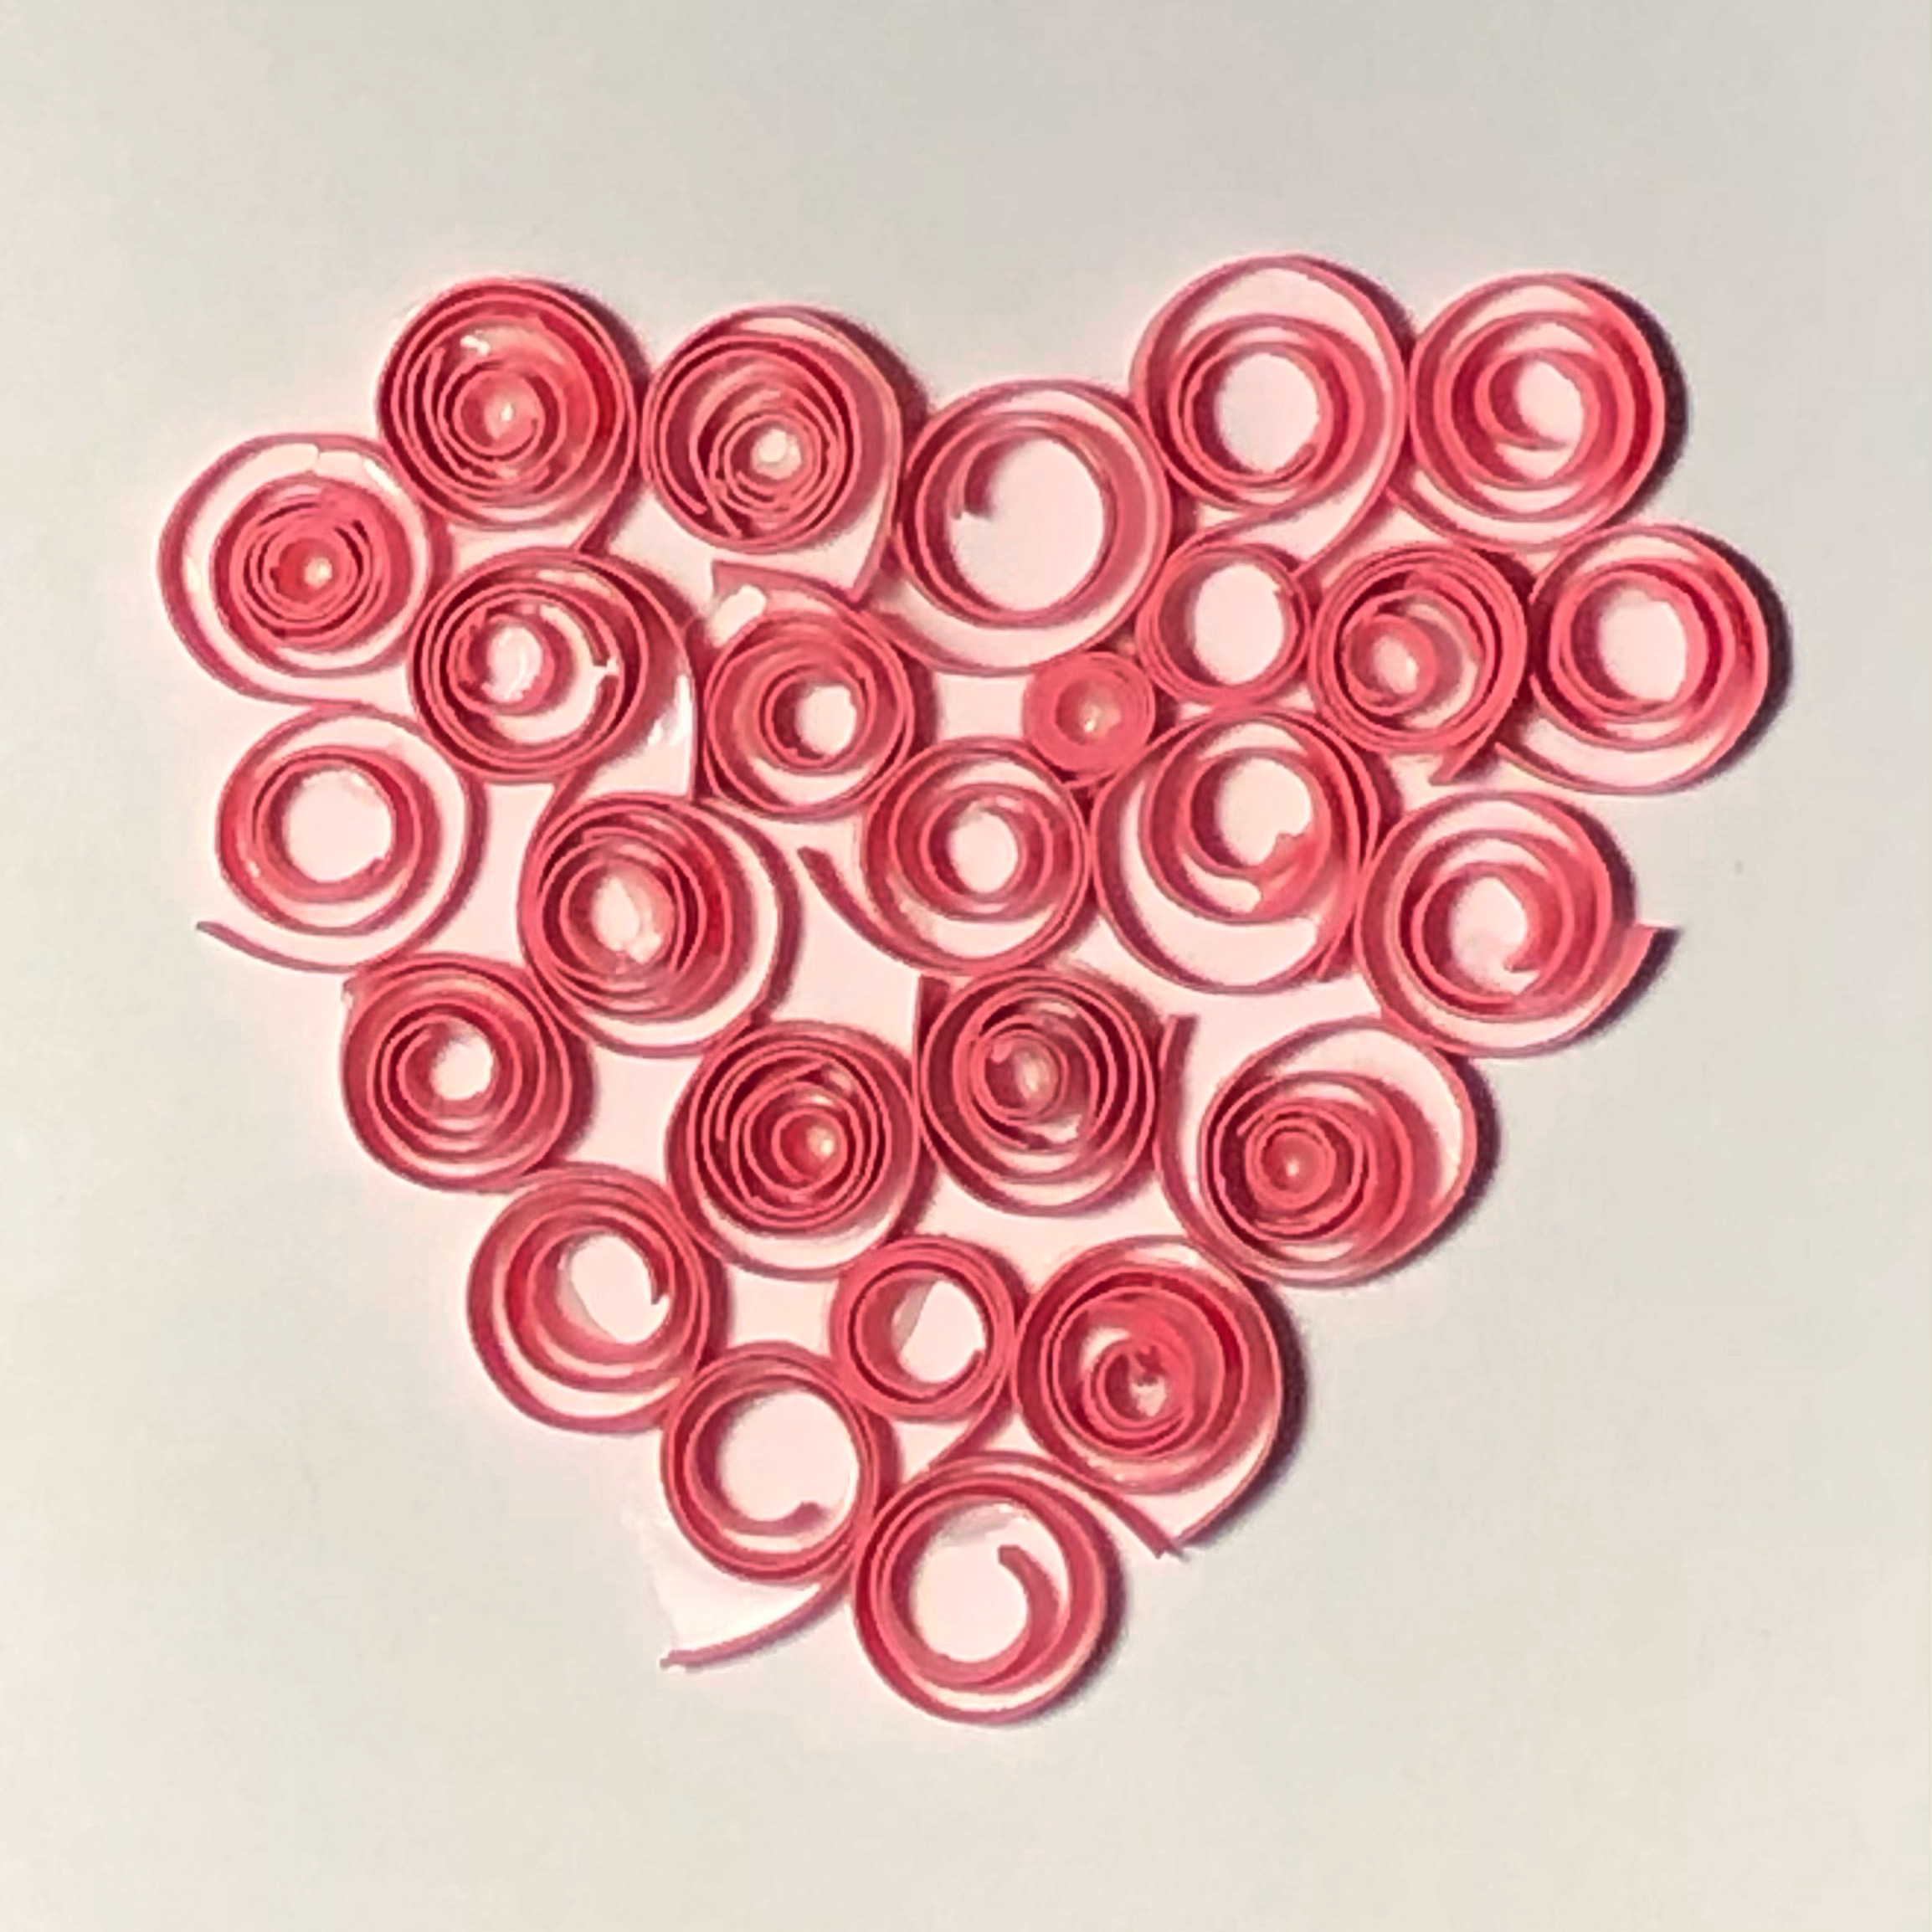
Quilled Paper Heart for Valentine’s
Here is a creative and simple way to make a quilled paper heart for Valentine's Day. With Valentine's Day coming up, one of my favorite Valentine's Day cards I've ever made was this one. Paper [...]
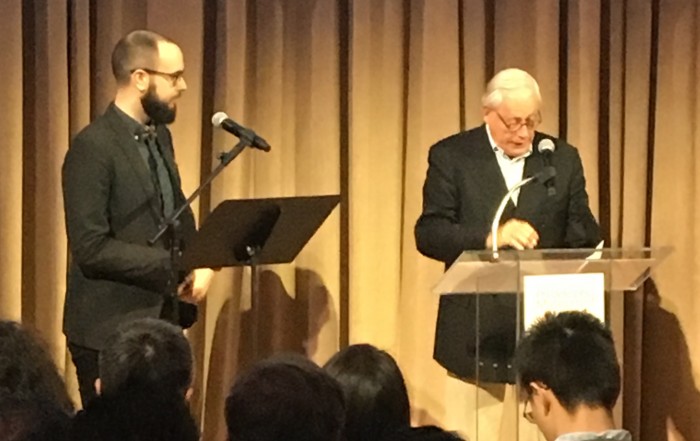
Dieter Rams: Design Principles
Dieter Rams, one of the world's most prolific product designers, is featured in the Philadelphia Museum of Art's exhibition "Dieter Rams: Principled Design" in the Collab Gallery in the Perelman Building and this past Saturday, [...]
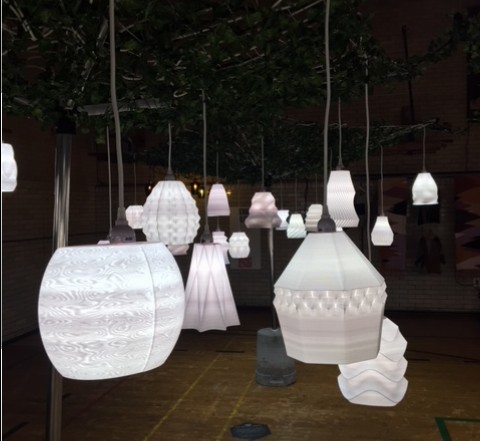
DesignPhiladelphia 2018 Kickoff at Bok
DesignPhiladelphia is an annual gathering of thousands of local designers, architects and creatives that spotlight Philadelphia's place as a thriving design community. This years kickoff event was at the former Edward W. Bok Technical High [...]